Last updated November 21, 2026
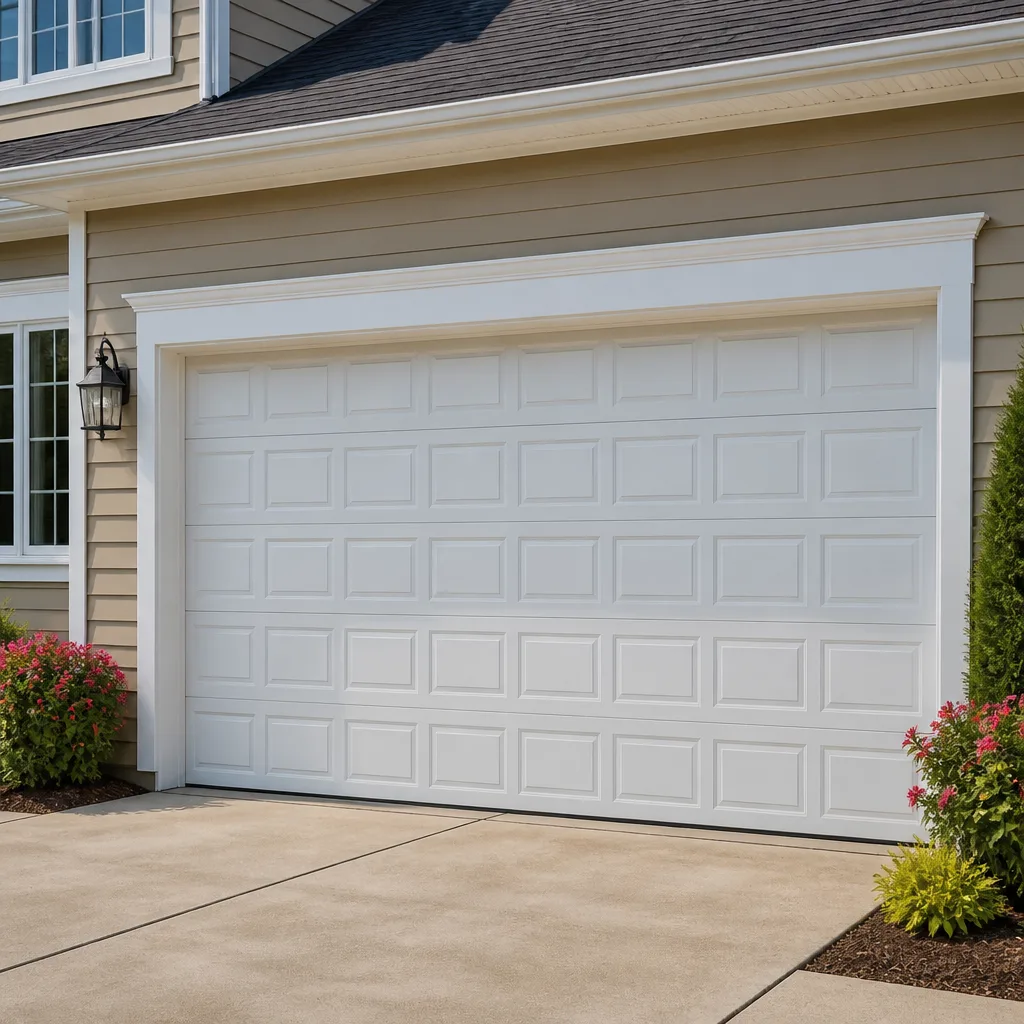 Raised-panel steel
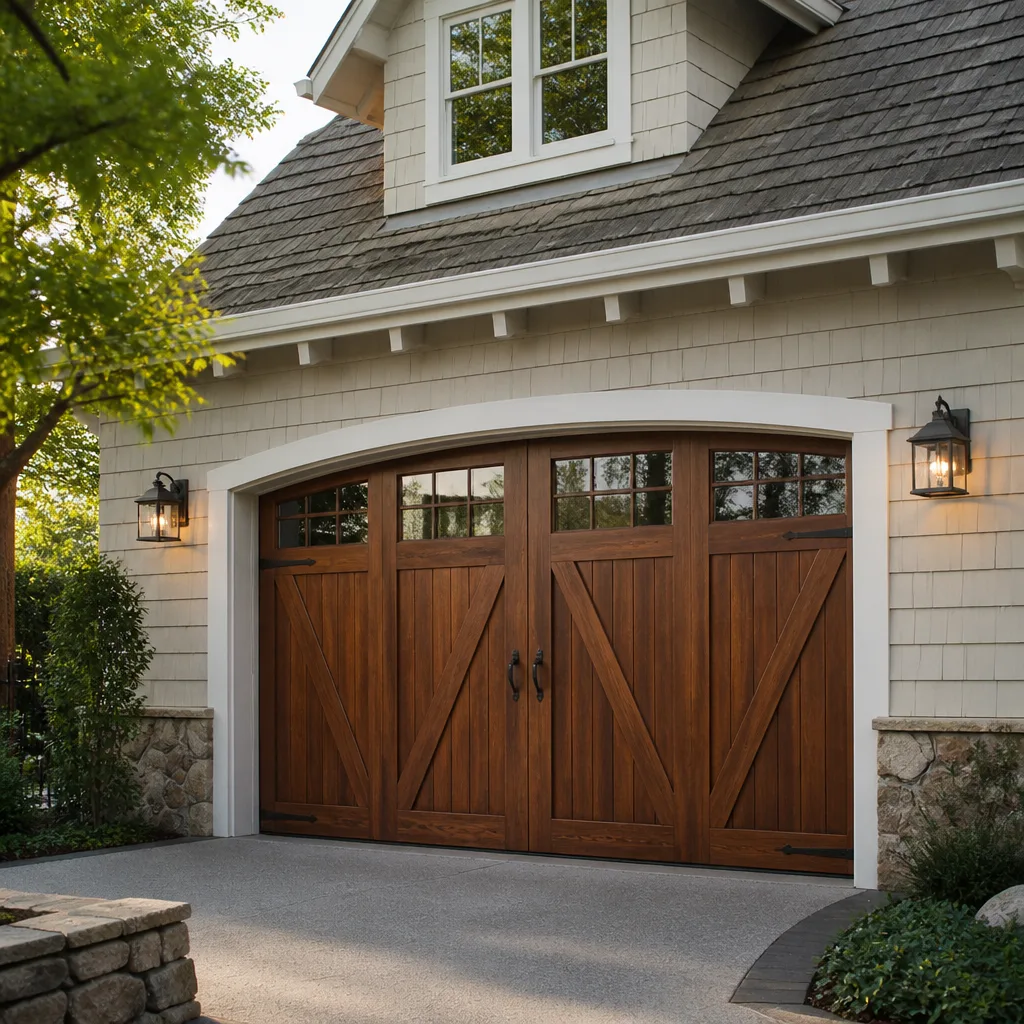 Carriage house
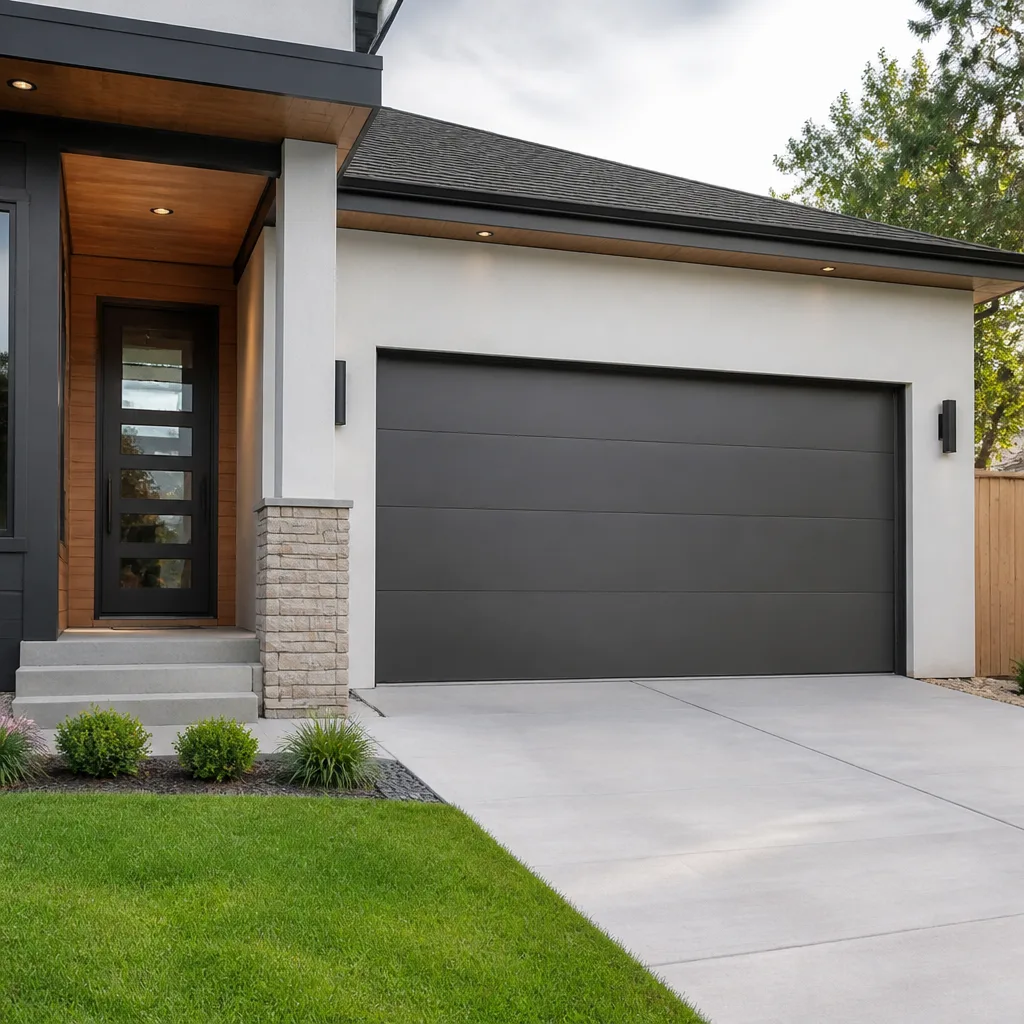 Modern flush
 Full-view glass
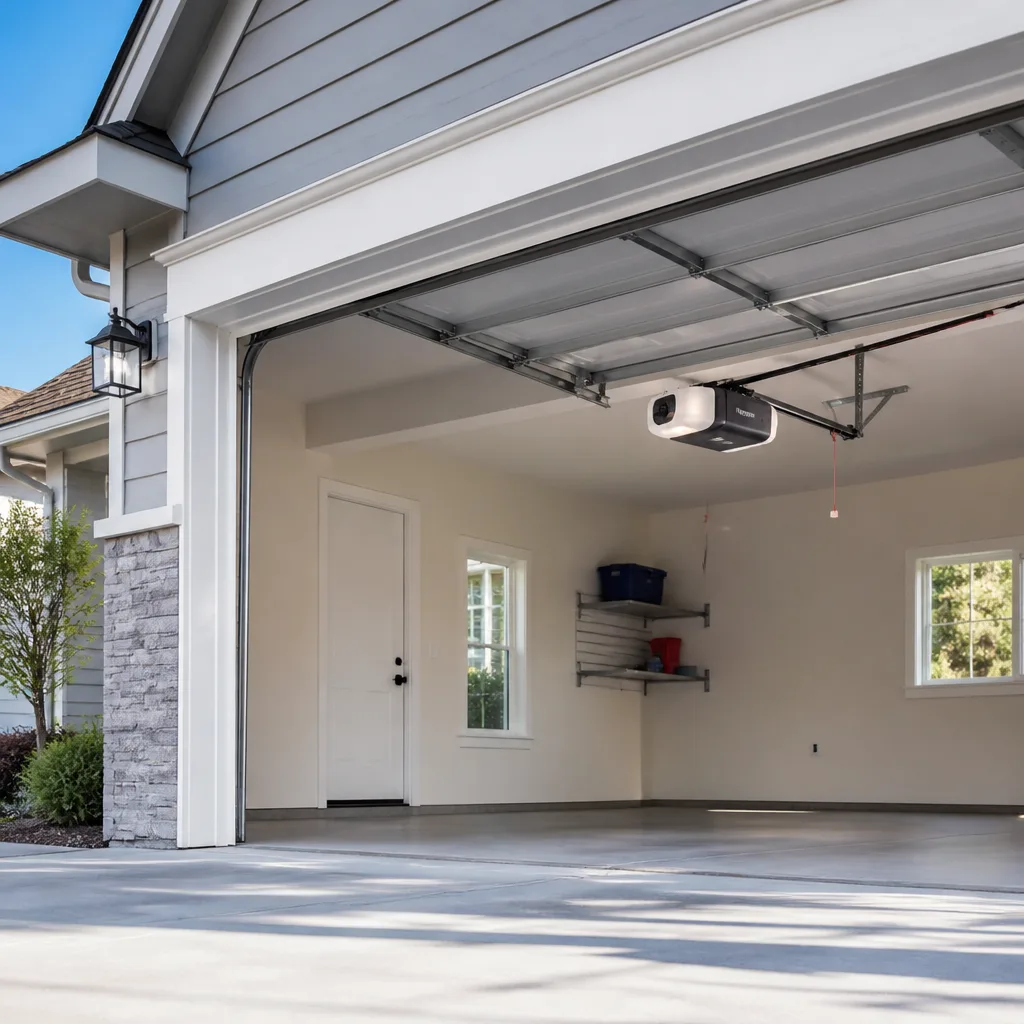 LiftMaster openers
 Chamberlain openers
Full 25-point door and opener safety check with every visit - springs, cables, rollers, tracks, and your LiftMaster or Chamberlain opener included
You get a price before we start. It does not change when the pro arrives.
Get your free estimateGarage Door Repair Maintenance Checklist for Charlestown Homeowners
Most garage door maintenance advice assumes your door opens twice a day and sits idle the rest. In a busy Charlestown household where the garage is the main way in and out, the door cycles far more than that, and the parts wear on a completely different schedule. A generic “inspect annually” list misses the failures that show up at month four because it wasn’t written for a door that runs hard. This checklist is ordered by failure frequency: the parts that break first get checked first. You’ll learn what your door is actually doing to its springs, rollers, and hinges, which tasks you can safely handle, which ones need a trained eye, and how to document problems so a repair visit is fast and accurate.
Quick Answer
A garage door maintenance checklist for a Charlestown home should be sequenced by wear, not by calendar: springs, rollers, hinges, and safety sensors get checked first because they fail first, while the door’s balance, weather seal, and opener force settings can wait for a slower cycle. Homeowners can safely handle visual inspections, lubrication, and balance testing by hand. Spring tension, cable, and torsion work always belongs with a technician. Most busy-household doors benefit from a quarterly look and a deeper annual review.
Styles & brands we work with
- Raised-panel steel
- Carriage house
- Modern flush
- Full-view glass
- LiftMaster openers
- Chamberlain openers
Table of Contents
- Why Your Door’s Cycle Count Matters More Than the Calendar
- The Checklist, Sequenced by Failure Frequency
- Springs and Cables: The Dangerous Checkpoints
- What Humidity and Winter Weather Do to Charlestown Doors
- How to Test Balance and Spring Tension Without Tools
- Quarterly vs. Annual: What You Can Do and What Needs a Technician
- What to Document So a Technician Diagnoses Faster
- Common Mistakes to Avoid
Why Your Door’s Cycle Count Matters More Than the Calendar
A garage door is rated by cycles, not by years. One cycle is a full open plus a full close. A door that runs once in the morning and once in the evening logs under 750 cycles a year. A door in a household where everyone comes and goes, where the garage doubles as the entry for deliveries and errands, easily reaches 1,500 or more. That changes the maintenance math entirely.
At that pace, the wear adds up on a predictable curve:
- Springs absorb the most stress per cycle. They’re the component with a finite cycle life, and doubling your annual cycles roughly halves the time you get from them. A spring that would last a low-use door for a decade can reach the end of its rated life in half that.
- Rollers take a small hit every time the door rolls past them. Cheap plastic rollers flatten and start to rumble within a few thousand cycles. Sealed bearings hang on longer but still wear.
- Hinges flex at the same pivot points every cycle. At high use, hinge pins loosen and the metal fatigues where the roller stem sits.
- The opener motor and gears run every time someone presses the remote, so the drive system sees the same accelerated wear as everything else.
This is why a Charlestown homeowner who tracks cycles understands the door better than one who tracks the anniversary of the last service call. If you know your door runs 1,500 cycles a year, “inspect annually” suddenly looks like it misses half the story. In our experience, the doors that fail early are almost always the heavily used ones that got the standard once-a-year treatment.
The Checklist, Sequenced by Failure Frequency
Here’s the order that matters. Work down this list from most-likely-to-fail to least, and you’ll catch problems before they strand the door.
- Springs – listen for a sharp snap, watch for a gap in a torsion spring, and note any door that suddenly feels very heavy. Check these first every time.
- Rollers – look for flat spots, cracks, and wobbling wheels in the track. Spin each one by hand if you can reach it safely.
- Hinges – check for loose screws, bent plates, and dry pivot points. A door that squeaks or jerks likely has a hinge issue.
- Safety sensors – the photo-eye pair near the floor. Test by blocking the beam and confirming the door reverses.
- Cables – look for fraying, kinks, or slack on the drum side. Never touch a cable under tension.
- Tracks – dents, debris, or misalignment that makes the door drag or bind.
- Weather seal – the rubber strip along the bottom. Cracked or torn seals let in water, cold, and pests.
- Balance and opener settings – the deeper structural checks that confirm the whole system is working together.
Notice that springs and rollers come first because they carry the highest failure rate and the most risk when they go. Weather seals sit near the bottom because a worn seal is a comfort and water problem, not a safety one. Sequencing by frequency means your limited inspection time goes where it counts.
Springs and Cables: The Dangerous Checkpoints
Springs are the most dangerous part of any garage door system, and cables are a close second. Both store enormous mechanical energy, and both can cause serious injury if handled wrong. We handle them so you don’t have to, and this section is written as a look-and-listen guide, not a how-to. If you take one thing from this checklist, take this: spring and cable work belongs with a trained technician, full stop.
What a homeowner can safely do is observe:
- Listen. A loud snap from the garage, followed by a door that won’t lift, usually means a spring broke. Don’t try to open it by hand. Call for help.
- Look at torsion springs. On a torsion system, the springs sit above the door on a horizontal shaft. A visible gap in the coiled metal is a break. On extension springs, check the springs running along the sides for gaps or stretching and confirm the safety cables are intact.
- Check the cables visually. Frayed strands, kinks, or a cable that looks slack on one side is a red flag. Don’t touch it. Cables are under high tension.
- Notice the door’s weight. If lifting the door by hand (with the opener disconnected and the door fully closed) takes real effort, a spring is likely failing or broken.
Because springs fail on a cycle count, the more your Charlestown door runs, the sooner you’ll be watching for this. When a spring does go, replacing a matched pair together is standard practice, and pricing reflects that. If you suspect a broken spring, that’s a job for dedicated Charlestown Garage Door Repair rather than a weekend project. A technician can confirm the failure, replace both springs to match, and reset the door’s balance in one visit.
What Humidity and Winter Weather Do to Charlestown Doors
Charlestown’s weather works on a garage door year-round, and the wear shows up in specific places. The neighborhood sits close to the water, so humid summer air and the damp stretches of spring and fall are a real factor for metal components. Add the freeze-thaw cycle of a New England winter and you get a set of checkpoints worth knowing.
- Bottom brackets and the bottom section. The lowest metal on the door sits closest to ground moisture and road splash. Look for rust blooming around the bottom brackets and along the bottom panel. Rust there weakens the bracket and the panel both.
- Torsion bar and end plates. Humidity speeds surface rust on the torsion bar and the plates that anchor it. Light surface rust is normal; flaking or pitting is not.
- Track and roller contact points. Damp air plus steel rollers can mean sticking and squealing. A dry, clean track with properly lubricated rollers runs smoother.
- The bottom seal. Winter ice and summer heat both attack the rubber weather seal. A cracked seal lets water sit against the bottom panel, which is where rust starts.
- Lubrication schedule. In humid stretches, hinges, rollers, and the opener’s moving parts dry out faster. In our experience, lubricating hinges and rollers more often during the damp months pays off.
You don’t need to guess at all of this. A quick visual pass on the bottom brackets and torsion bar after a wet stretch tells you whether rust is progressing. If you see pitting or flaking, that’s a call-a-technician moment rather than a wipe-it-down moment.
How to Test Balance and Spring Tension Without Tools
The manual lift test is the single most useful check a homeowner can do, and it needs no tools. It tells you whether your springs are still doing their job and whether the door is balanced enough that the opener isn’t straining. Do this test from a standing position, never from under the door, and always with the door closed to start.
- Disconnect the opener. Pull the release cord (usually red, hanging from the opener rail) so the door moves freely by hand. Only do this when the door is fully closed and no one is under it.
- Lift the door halfway. Raise it to about waist-to-chest height and let go gently. A balanced door stays put or drifts only slightly. A door that slams down or won’t hold is out of balance or has a weak spring.
- Lift fully and check the open position. A door that won’t stay open on its own, or that feels heavy throughout the lift, points to a spring problem.
- Note the effort. A properly balanced door lifts with one hand and modest effort. If you’re pulling hard, the springs are tired.
- Reconnect the opener and run it once to confirm it re-engages smoothly.
What the test does not do is measure spring tension directly, and that’s fine. Tension is set by a technician with the right tools, and it’s not something to adjust by hand. The lift test simply tells you whether to make the call. If your door fails any step, don’t keep cycling it. Weak springs strain the opener, and a straining opener eventually fails too. That’s the point at which a technician should look at the whole system: the door, the springs, and the opener together. If the opener is the weak link, garage door opener repair is the next step.
Quarterly vs. Annual: What You Can Do and What Needs a Technician
The smartest split is quarterly for the quick visual and hands-on checks, annual for the deeper review. Here’s how to divide the work so you’re not doing anything risky and not paying for something you could’ve caught yourself.
Safe for homeowners, quarterly
- Visual pass on springs and cables (look and listen only)
- Wipe down and lightly lubricate hinges, rollers, and the opener’s moving parts
- Clear debris from the tracks and check for obvious dents
- Test the safety sensors by blocking the beam
- Run the manual lift test
- Wipe down the bottom seal and check for cracks
Safe for homeowners, annual
- The full sequenced checklist above, top to bottom
- A careful look at bottom brackets and the torsion bar for rust
- A check of the opener’s force and travel settings in the manual
- Confirm the manual release works smoothly
Technician-only, any time
- Spring replacement or adjustment of any kind
- Cable inspection and replacement
- Track realignment and hinge or roller replacement that requires disassembly
- Opener gear, motor, or logic board repair
- Anything that has the door off balance or stuck
The rule of thumb: if the task involves tension, a ladder over the door, or loosening a fastener that holds the door up, it’s a technician job. When a Charlestown door needs new hinges, rollers, or a fresh bottom seal, parts supply matters. We stock and supply garage door parts directly, so a repair visit isn’t waiting on a third-party order to arrive.
If your door is older and the repairs start stacking up, it may be smarter to look at replacement rather than one repair after another. A full garage door installation is worth pricing out when the door’s panels, springs, and opener are all aging at once.
What to Document So a Technician Diagnoses Faster
When you do call, a few minutes of documentation saves time and gets you a more accurate estimate. A technician who knows what you’ve seen and heard can often bring the right parts the first time.
- Photos. Photograph the spring setup (torsion or extension), the opener unit and its brand label, and any spot that looks rusted, cracked, or bent. A picture of the whole door from inside the garage is surprisingly useful.
- The brand and model. Note the name on the opener and the door. We work on LiftMaster, Chamberlain, Genie, and Raynor among others, so knowing what you have helps us match the right parts. If you’re not sure, a photo of the label handles it.
- Sounds. Write down what the door does. A sharp snap, a grinding rumble, a squeal, a door that reverses for no reason, or an opener that clicks but doesn’t move. Each points to a different component.
- Dates and timing. When did it start, and does it happen every cycle or only sometimes? Intermittent problems are easier to trace with a timeline.
- What you’ve tried. If you re-engaged the manual release, tested the sensors, or lubricated something, note it. That rules out possibilities and saves a diagnostic step.
These notes also help you describe the problem over the phone so we can get you a realistic estimate before anyone arrives. Clear communication is most of the battle on a repair call.
Common Mistakes to Avoid
- Following the calendar instead of the cycle count. A heavily used door that gets the standard annual look is being checked half as often as it needs. Track cycles first, then schedule.
- Lubricating the tracks. Tracks should be clean and dry; oil attracts grit and makes rollers bind. Lubricate hinges and rollers, not the tracks.
- Ignoring a bent or dented track. A small dent drags on the rollers every cycle and wears them out. Left alone, it usually leads to a stuck door.
- Attempting a spring or cable fix by hand. This is the one mistake that can cause real injury. Springs and cables belong with a technician who has the right tools.
- Replacing one spring of a matched pair. Springs are replaced as a pair because they wear at the same rate. Putting one new spring next to an old one throws the door off balance.
- Skipping the safety sensor test. A misaligned or dirty photo-eye is a safety issue, and it’s a two-minute check. Test it every quarter.
- Putting off a painted-over or rusted bottom bracket. In a damp Charlestown climate, rust spreads and weakens the bracket. Catch it while it’s a cleaning job, not a replacement job.
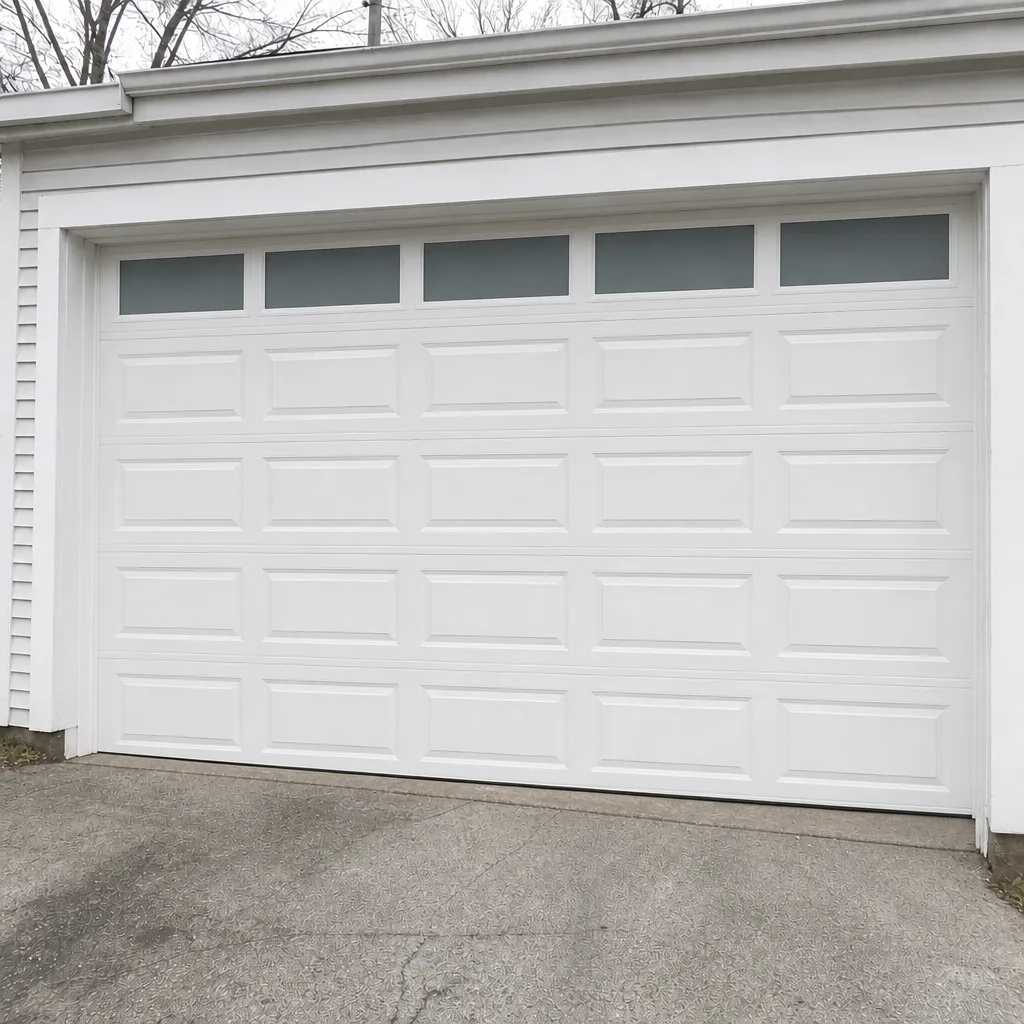
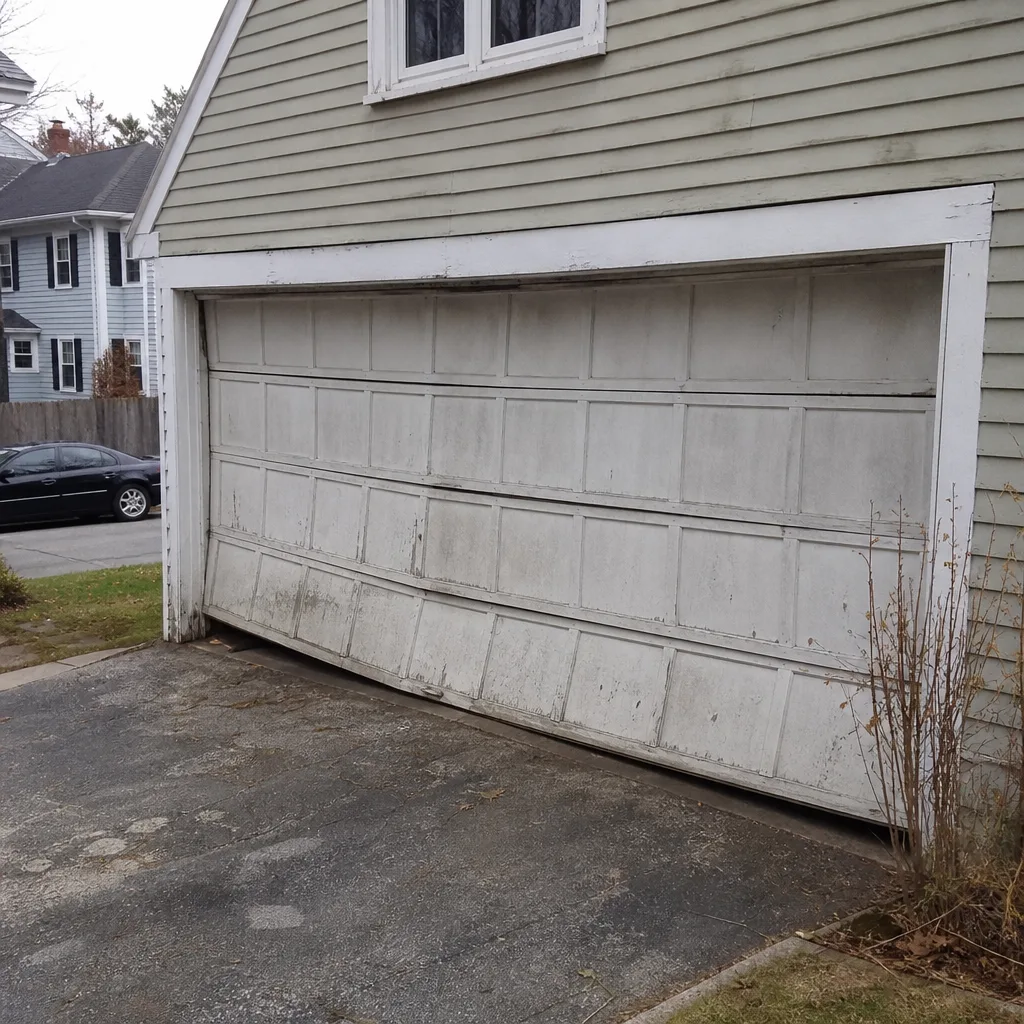
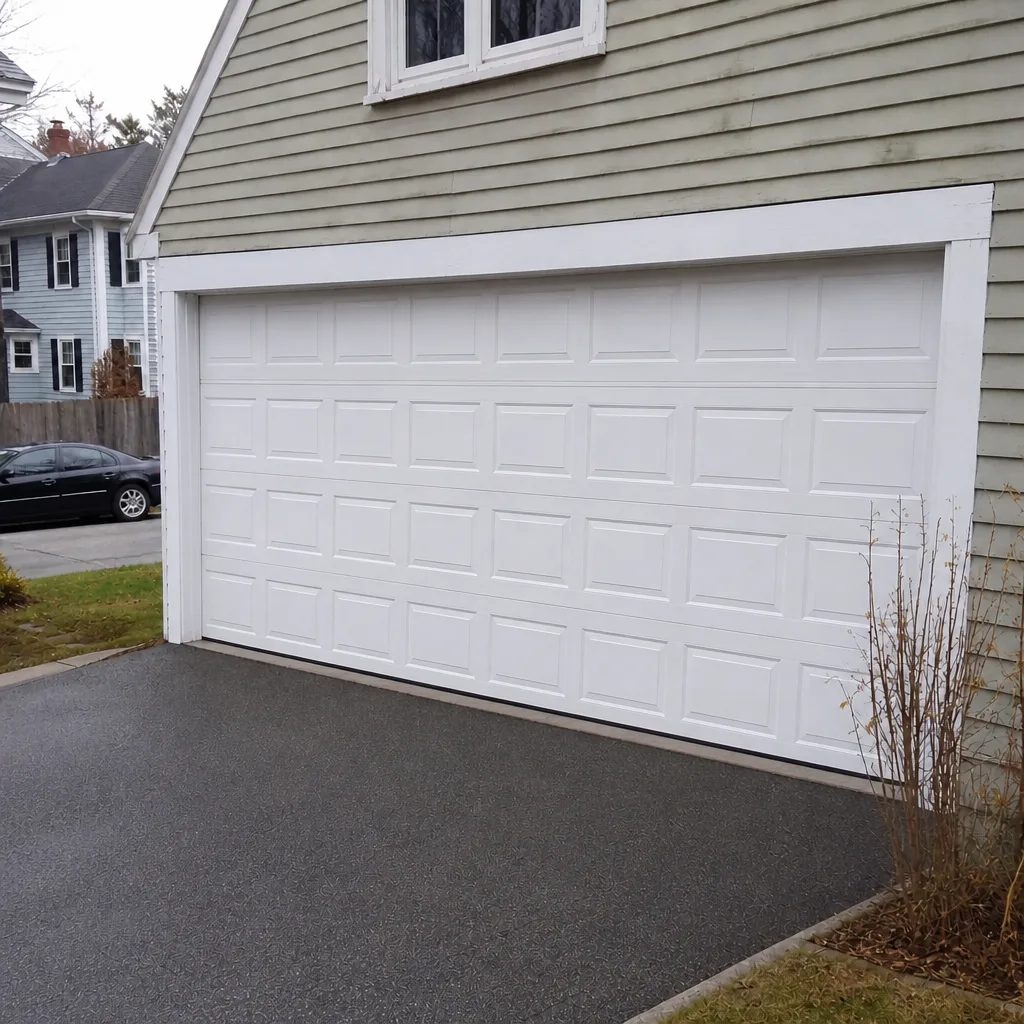
See the difference
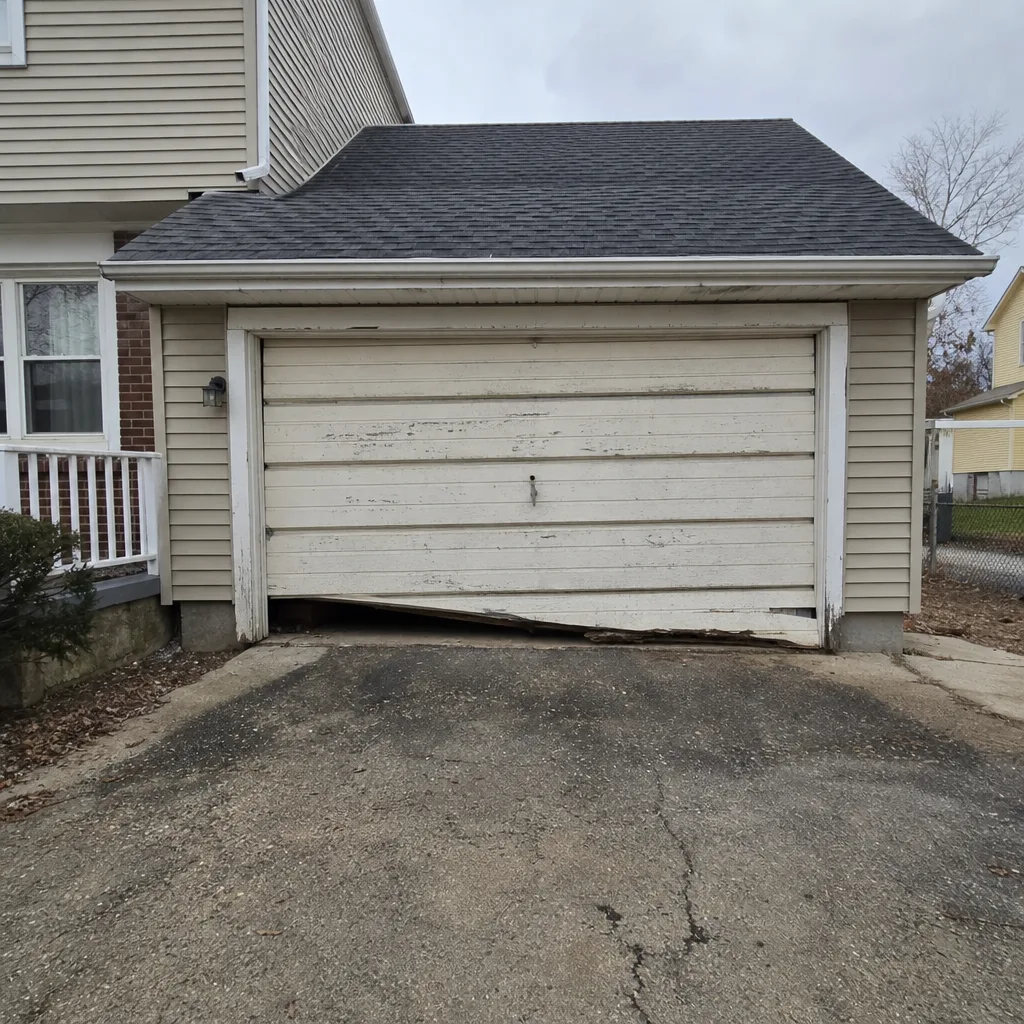 Before
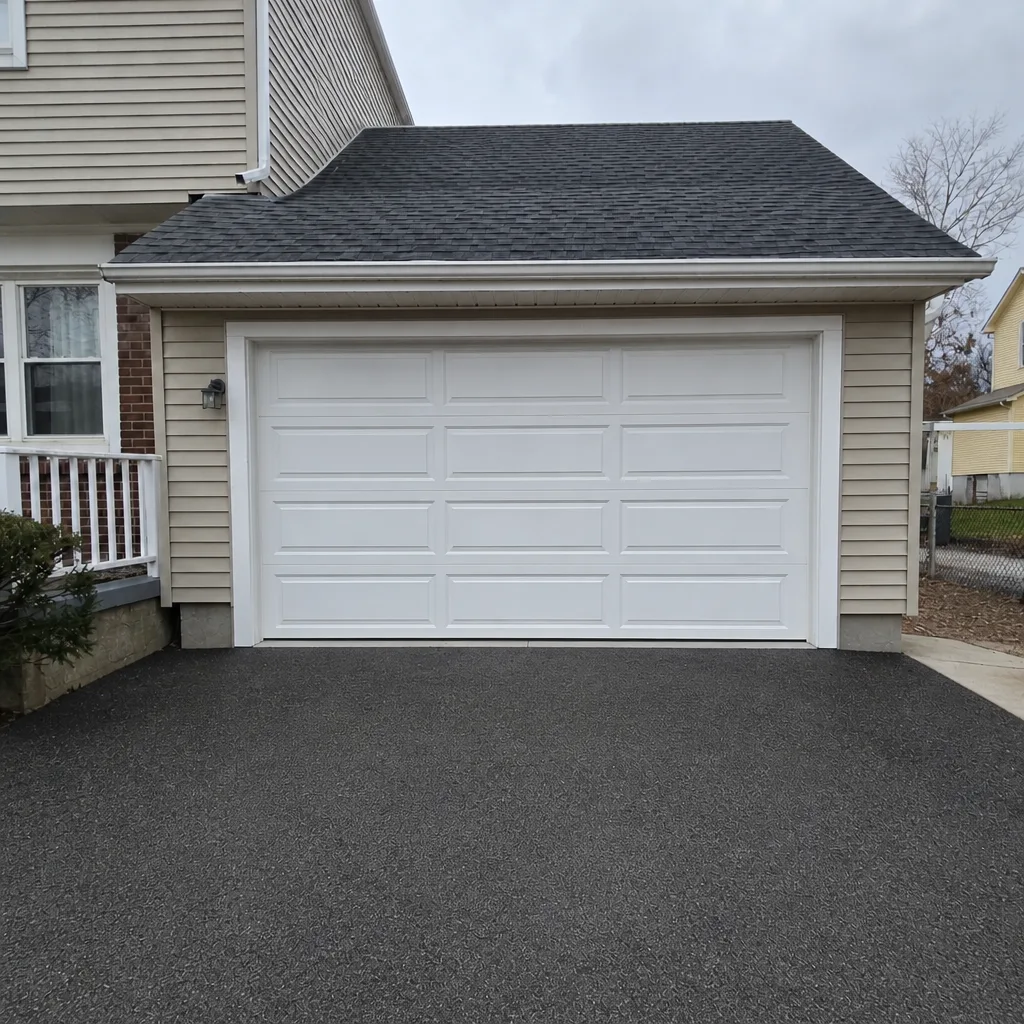 After
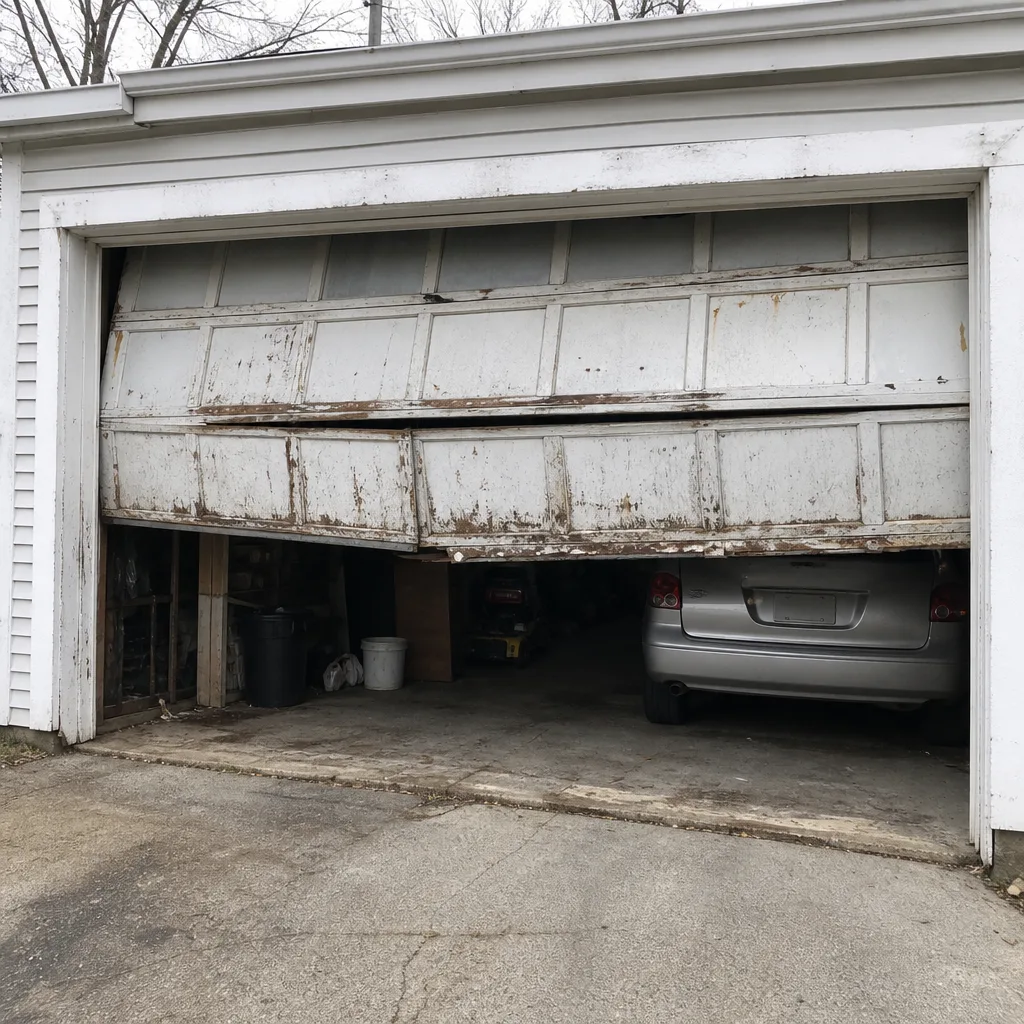 Before
 After
 Before
 After
When to Call a Professional
Some problems need a technician the moment you spot them. A snapped spring, a frayed or slack cable, a door that won’t lift or won’t stay open, a track that’s clearly bent, or an opener that runs but doesn’t move the door. Any of these means stop cycling the door and get it looked at. Other signs are slower: a door that’s getting louder, hinges that loosen repeatedly, a bottom seal that’s crumbing away, or springs that have clearly weakened over time. In our experience, those quieter signs are worth acting on before they turn into a Friday-evening breakdown. If you’re not sure which category you’re in, describe what you’ve seen and we’ll tell you what it likely needs.
Charlestown Garage Door Repair offers free estimates in Charlestown – call (866) 401-6449. We work on the full system: the door, the springs, the opener, and the parts. Our technicians have up to 12 years of experience and work on equipment from eight major brands, so there’s no compatibility guessing when we arrive.
Frequently Asked Questions
For a busy household, plan on quarterly visual checks and a deeper review at least once a year. The right interval depends on cycles, not the calendar: if your door runs 1,500 or more cycles a year, the wear schedule moves faster and the annual review should come with a mid-year look at springs, rollers, and hinges. Call (866) 401-6449 for a free estimate if you’re unsure what your door needs.
No. Springs are under extremely high tension and are the most dangerous part of the system. A professional should handle any spring or cable work; homeowners can safely listen for a snap, look for a gap in the spring, and do the manual lift test, then call for repair. Estimating a spring job starts with a phone call – estimates are free at (866) 401-6449.
A sharp snap followed by a door that won’t lift is the classic sign of a broken spring. On a torsion spring, look for a visible gap in the coil above the door; on an extension spring, look for a stretched or separated spring along the sides. Don’t force the door. Call Charlestown Garage Door Repair at (866) 401-6449 for an estimate.
Squeaking and jerking usually point to dry or worn hinges and rollers, a dirty track, or a door that’s gone off balance. Lubricate the hinges and rollers (not the tracks) and do the manual lift test to check balance. If it still binds, the rollers or hinges likely need replacing, and a technician can confirm which. Call (866) 401-6449 for a free estimate.
You can safely do visual inspections, lubrication, debris cleanup from the tracks, the safety sensor test, and the manual lift test. Spring adjustment, cable work, track realignment, and opener repair belong with a technician. When in doubt, don’t touch anything under tension – call us at (866) 401-6449 and describe what you see.
Yes. Humid air and damp stretches speed up surface rust on bottom brackets, the torsion bar, and the bottom section, and they dry out lubrication faster. Check the lowest metal on the door first, keep hinges and rollers lubricated, and watch for pitting or flaking. If rust has weakened a bracket, that’s a repair call, not a cleaning job – call (866) 401-6449 for a free estimate.
The Bottom Line
Maintaining a garage door in Charlestown comes down to sequencing by wear. Start with springs and rollers, since they fail first, then the safety sensors, cables, tracks, and seal. Do the quarterly checks you can handle safely, run the manual lift test to catch weakening springs early, and document what you see and hear so a repair call is quick and accurate. Leave spring and cable work to a technician every time. The door, the opener, and the parts work as one system, so when something’s off, get the whole system looked at. Call (866) 401-6449 for a free estimate and we’ll help you figure out what your door actually needs.
Written by the team at Charlestown Garage Door Repair.